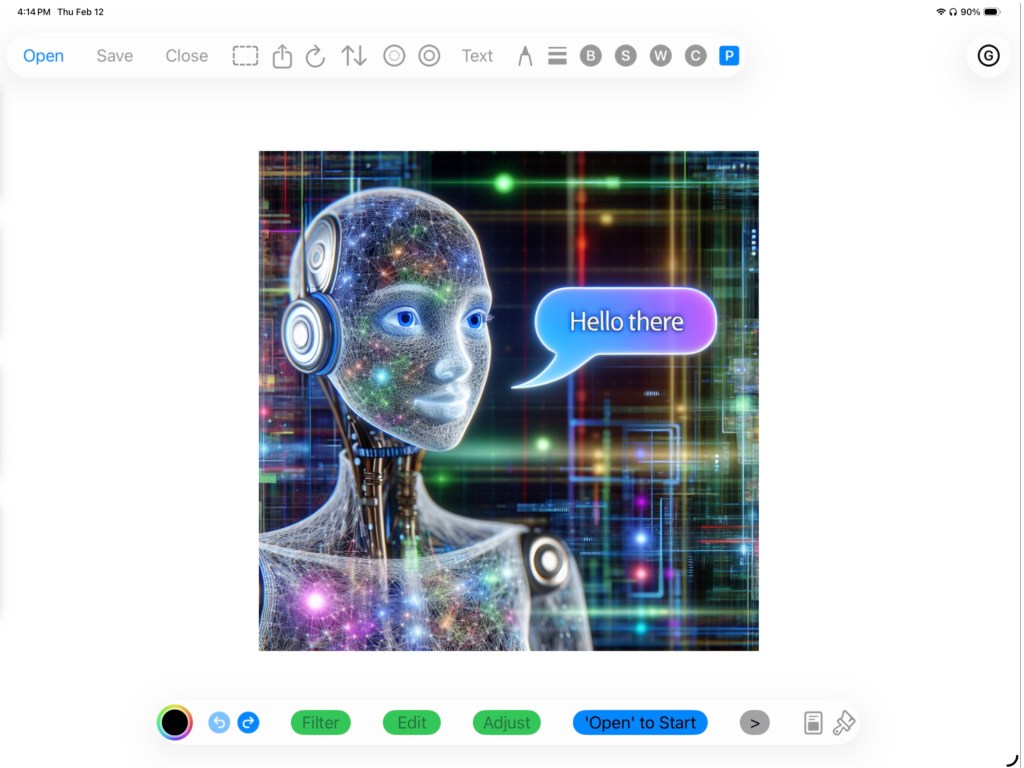
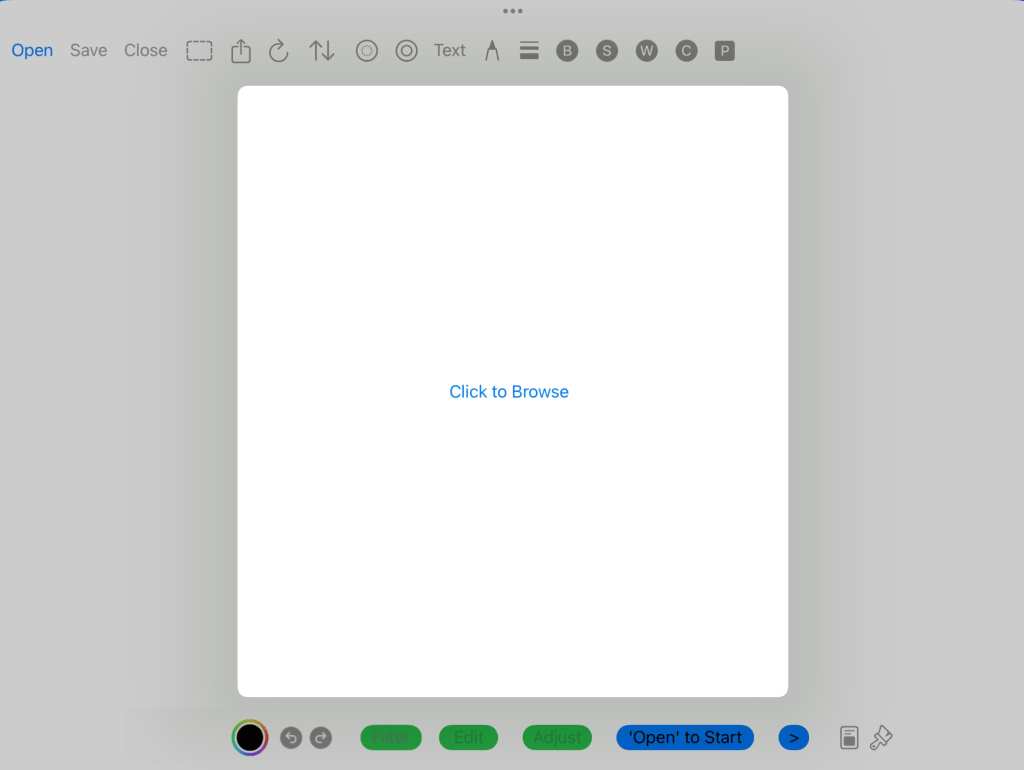
Startup
Welcome to GesturePaint version 4. From the Startup screen press the Open button to get several Open options.
Open Options
Illustrated in the screenshot below is a list of Open options from which to choose.
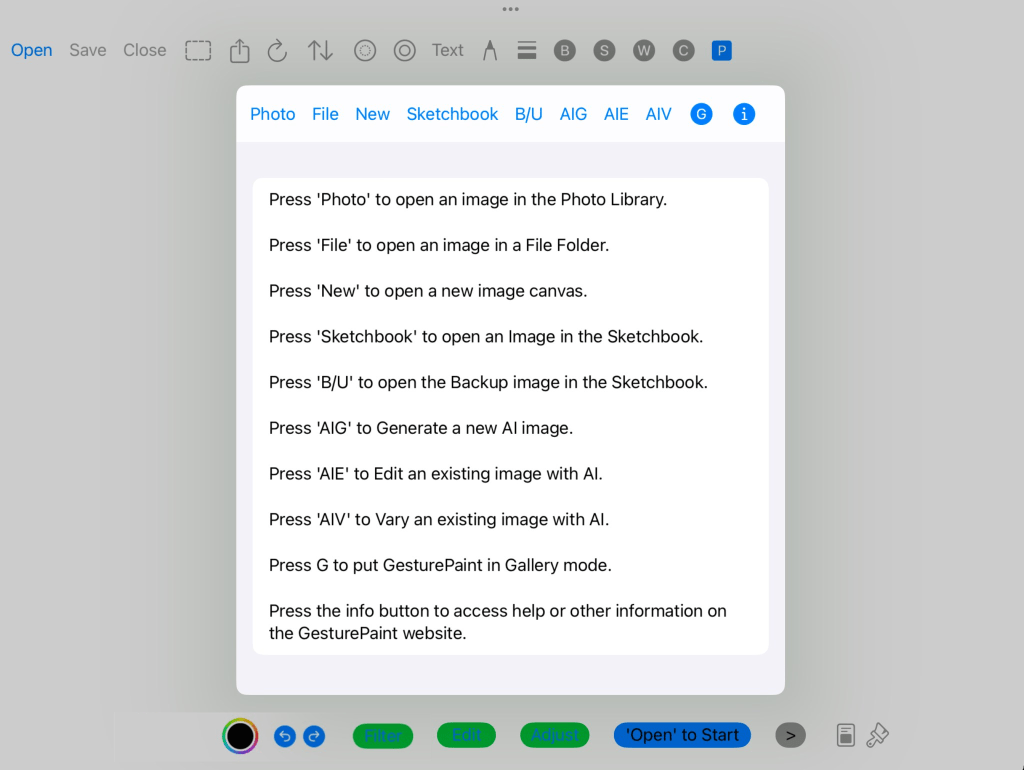
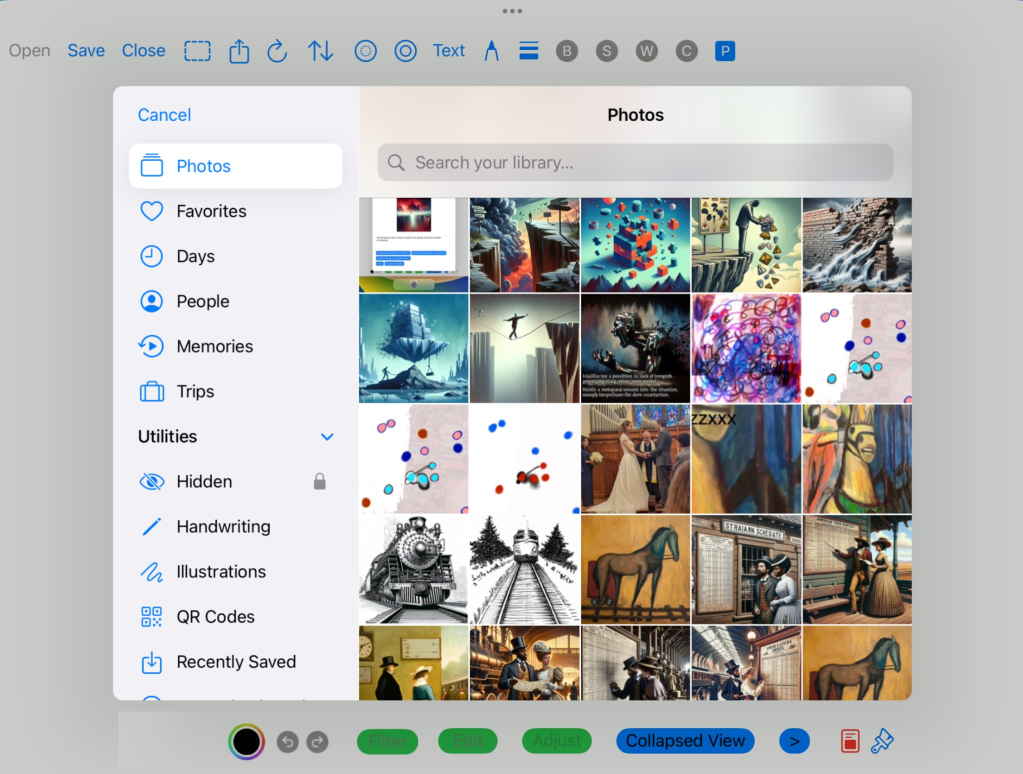
The Photo Option
Choose to open an PNG or JPG image from the Photo Library.
The File Option
Choose to open a PNG or JPG image from a directory or device.
The New Option
Choose to open a new empty image file.
The default dimensions are 1000×1000. Click the dashed rectangle icon in the upper left navigation bar to resize to image. Once the new dimensions are entered, press Accept. The dashed icon will turn red, then click the dashed icon a second time to activate the resize. To verify that the image dimensions changed, go into the Image Profile screen (as described further below), using the Blue P icon.
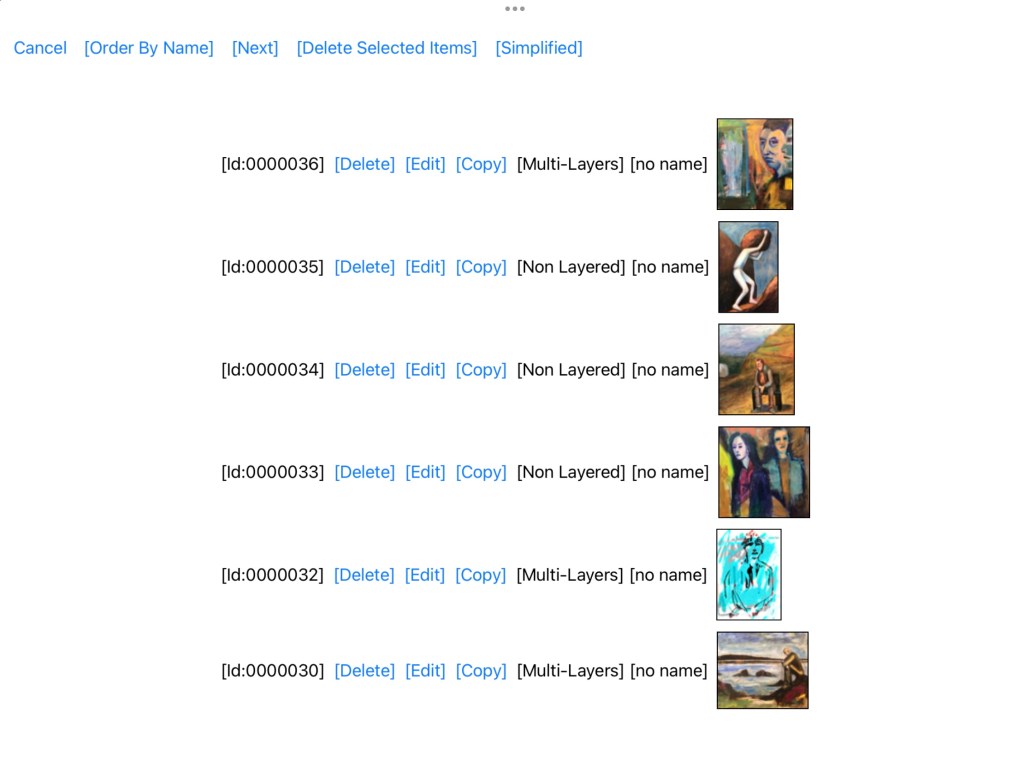
The Sketchbook and B/U Options.
The Sketchbook is a local database (resides on the user’s iPad) where artwork can be saved and reopened.
The Sketchbook screen will list all available stored artwork which can be Deleted, Edited or Copied. If the ‘automatic backup’ option is turned on in the Application Profile screen (as described further below) then the B/U open option will retrieve the current backup from the Sketchbook.
Choose the ‘Simplified’ button to get a list of artwork images only. The Simplified button can help make finding a specific artwork faster.
For deleting artwork, press the ‘Delete’ button for each artwork to delete. Then press the ‘Delete Selected Items’ button to delete those artworks.
To copy an artwork, select the ‘Copy’ button. This will create a new artwork and open the copy for edit. Be sure to save the copied artwork to the Sketchbook. The copy is not automatically saved.
To edit an artwork, press the ‘Edit’ button. This will open the artwork for changes.
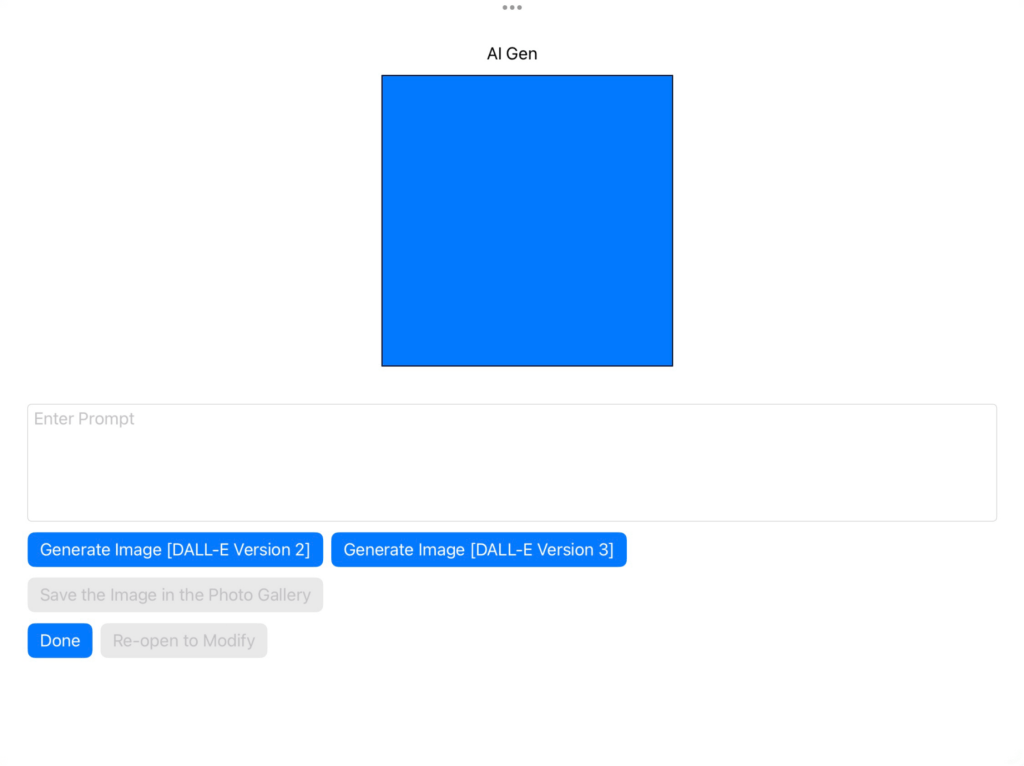
The AIG (Artificial Intelligence Generator) Option
Gesture Paint uses OpenAI’s DALL-E image generator to generate images.
In order to use any of the three AI open options, an AI Key will need to be entered in the Application Profile screen.
(Note: A valid ‘AI Key’ is required to be entered in the Application Profile screen before any AI interface to OpenAI will work. To obtain an AI Key, 1) login to OpenAI’s website, 2) create a user account, 3) generate a key and then, 3) enter in the AI Key Application Profile screen.)
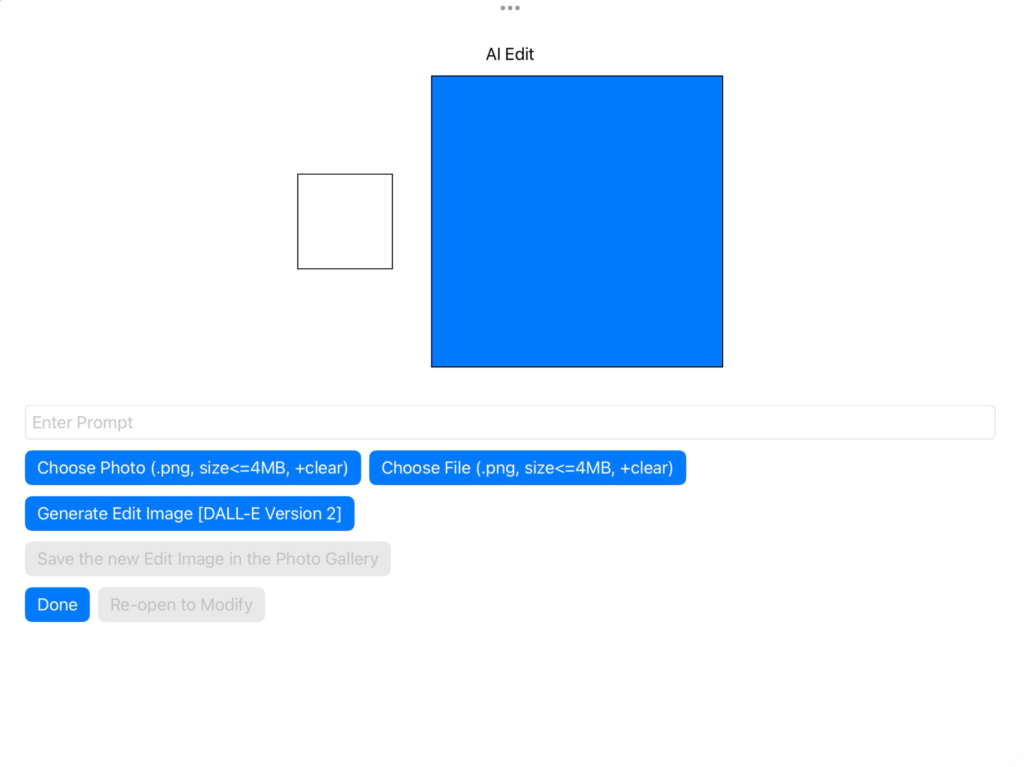
The AIE (Artificial Intelligence Edit) Option
Gesture Paint uses OpenAI’s DALL-E image editor to edit images.
To AI Edit an exiting file or photo, the image needs to be no larger than 4MB.
Also the file or photo should have some contiguous transparent pixel area. Only the transparent area is edited according to the (required) entered prompt.
(Note: A valid ‘AI Key’ is required to be entered in the Application Profile screen before any AI interface to OpenAI will work. To obtain an AI Key, 1) login to OpenAI’s website, 2) create a user account, 3) generate a key and then, 3) enter in the AI Key Application Profile screen.)
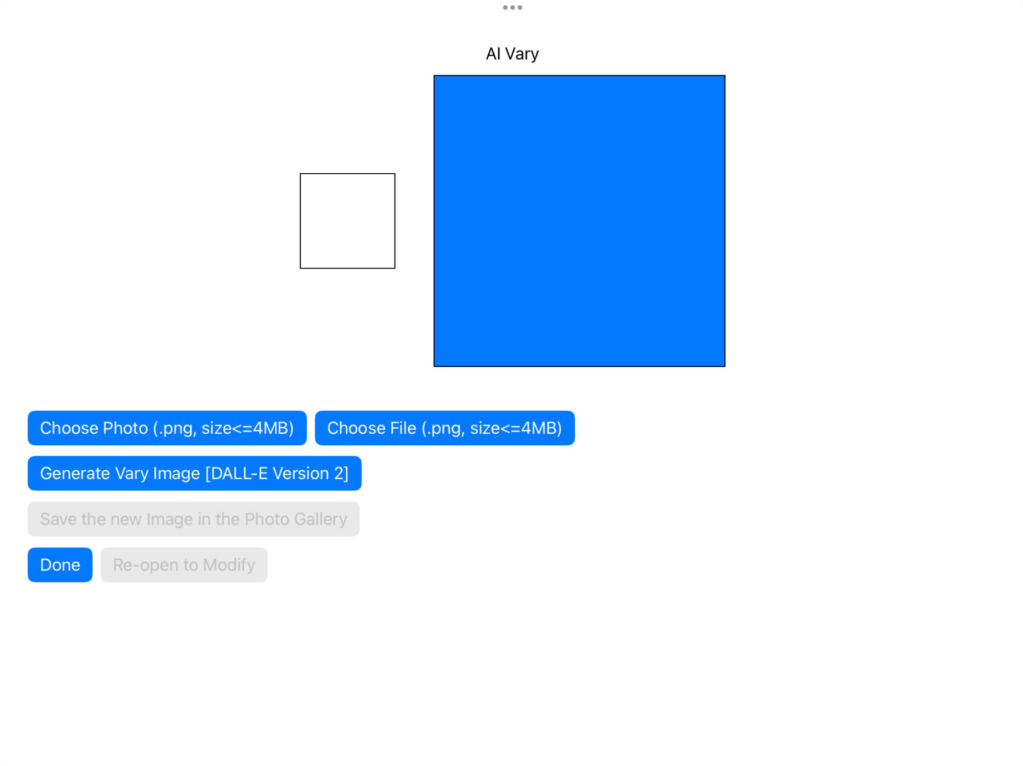
The AIV (Artificial Intelligence Vary) Option
Gesture Paint uses OpenAI’s DALL-E image variation editor to vary images.
To AI Vary an exiting file or photo, the image needs to be no larger than 4MB.
(Note: A valid ‘AI Key’ is required to be entered in the Application Profile screen before any AI interface to OpenAI will work. To obtain an AI Key, 1) login to OpenAI’s website, 2) create a user account, 3) generate a key and then, 3) enter in the AI Key Application Profile screen.)
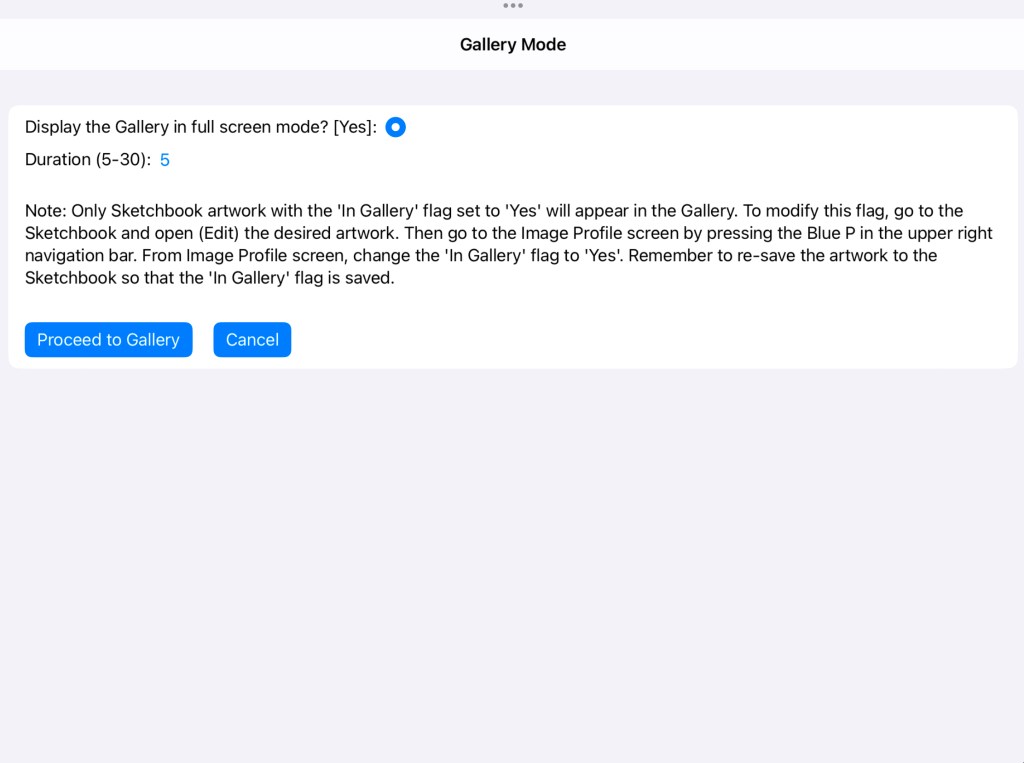
The Gallery Mode Option
Choose Gallery Mode to display artwork in the Sketchbook in gallery setting. After choosing Gallery Mode, the Gallery Mode screen will appear. In this screen choose whether to display artwork in full screen or partial screen mode.
Note that only Sketchbook artwork with the ‘In Gallery’ flag set to ‘Yes’ will appear in the Gallery. To modify this flag, go to the Image Profile screen (as described below) by pressing the Blue P in the upper right navigation bar. Change the flag to ‘Yes’ and then save the artwork to the Sketchbook.
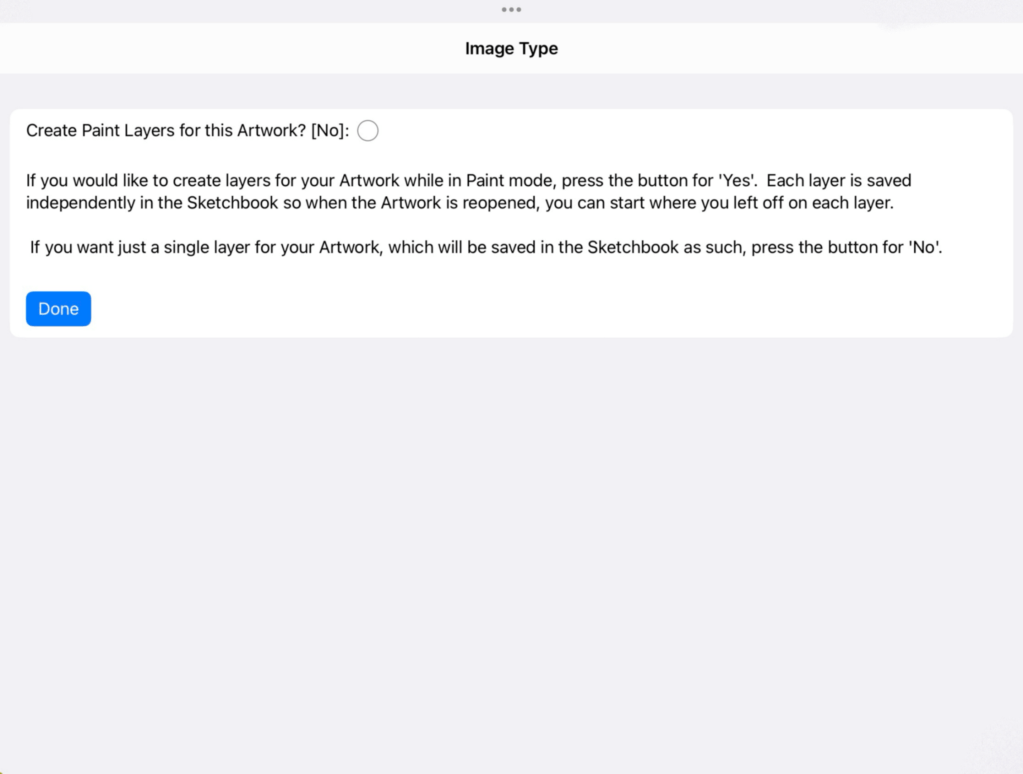
Layer Type
The Layer Type screen will appear after an Open option is selected.
The Layer Type defines how the image will be handled in Paint mode, that is, can multiple layers (five total) be applied to the image. If the ‘No’ layers option is selected, then the image will have only one layer.
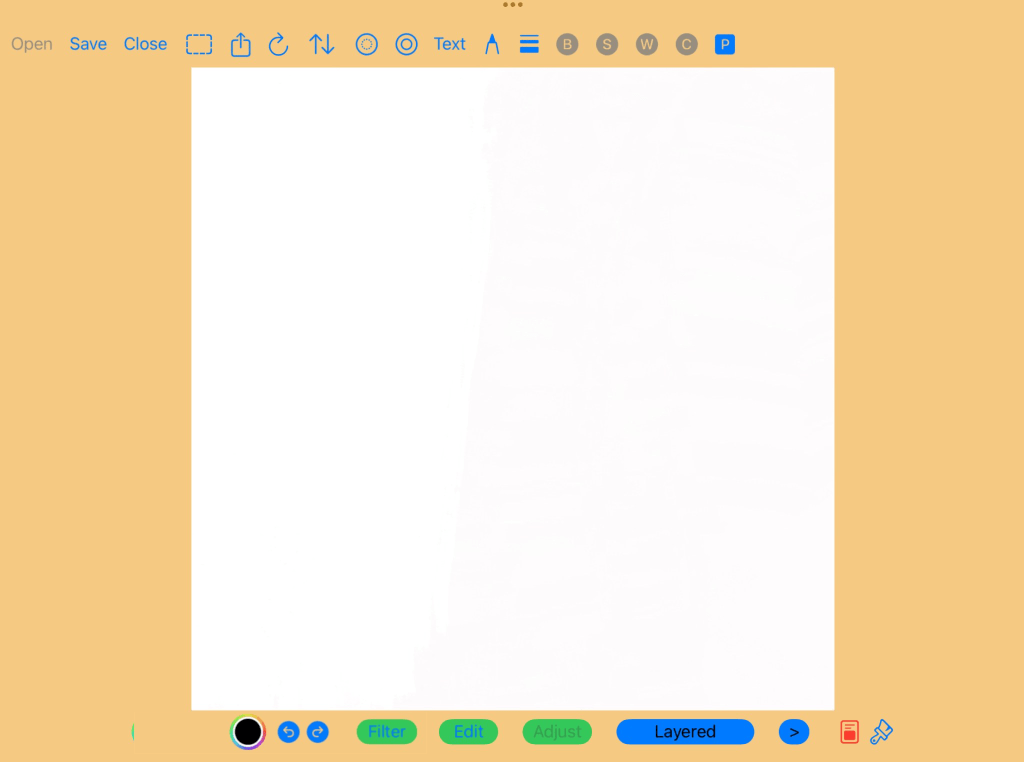
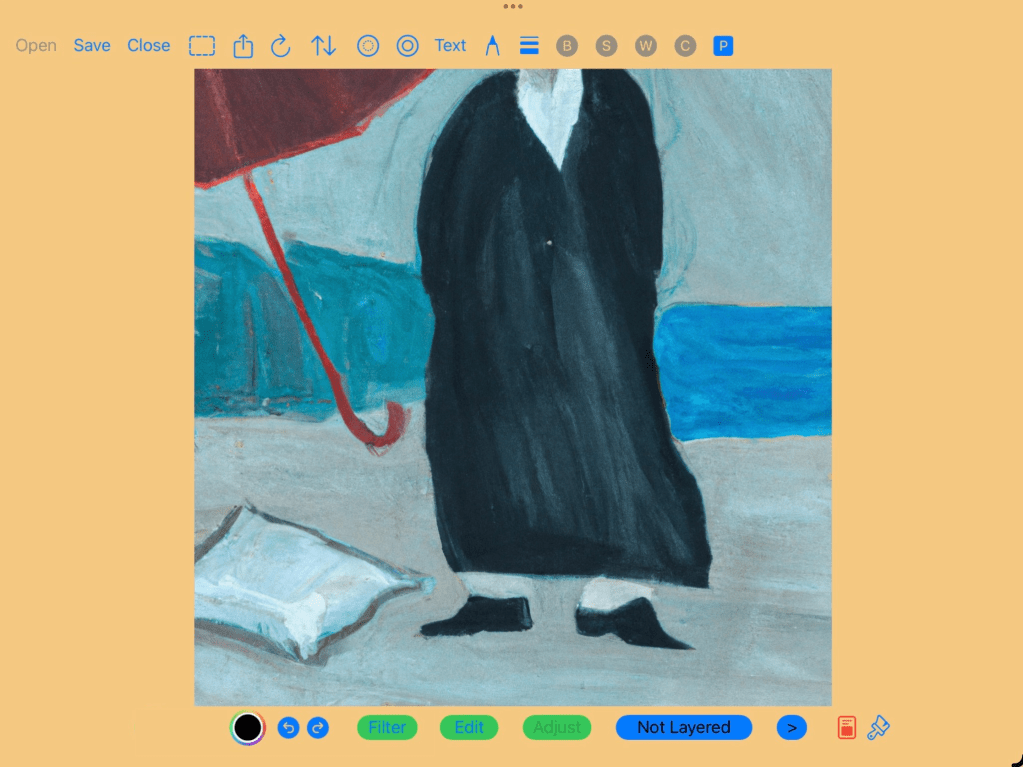
The Collapsed View
The ‘collapsed view’ is the view of the image after all layers (if the layers option is chosen) from Paint mode are collapsed into a single image.
The layers still exist in memory and can be saved separately in the Sketchbook, if the Sketchbook option is selected in the Save screen (see below). The next time artwork is opened from the Sketchbook, all layers will be created in Paint mode from where they left off during the previous Paint session.
When the image is saved to a file or photo the layers are collapsed into one image before saving.
Within the Collapsed View, an image can be Flipped or Rotated using the icons in the upper left navigation bar.
From the Collapsed View the user can navigate to screens which can apply Filters, Image Merges, Text, Edits and Paint..
The Application Profile screen and Image Profile screen can be accessed from the Blue P in the upper right navigation bar
The AIE screen (Artificial Intelligence Edit) and AIV screen (Artificial Intelligence Vary) can be accessed from the Collapsed View. Choose the ‘dotted circle within a circle’ icon in the upper navigation bar to apply the AIE screen on the current image. Or choose the ‘circle within a circle’ icon in the upper navigation bar to apply the AIV screen on the current image.
(Note: A valid ‘AI Key’ is required to be entered in the Application Profile screen before any AI interface to OpenAI will work. To obtain an AI Key, 1) login to OpenAI’s website, 2) create a user account, 3) generate a key and then, 3) enter in the AI Key Application Profile screen.)
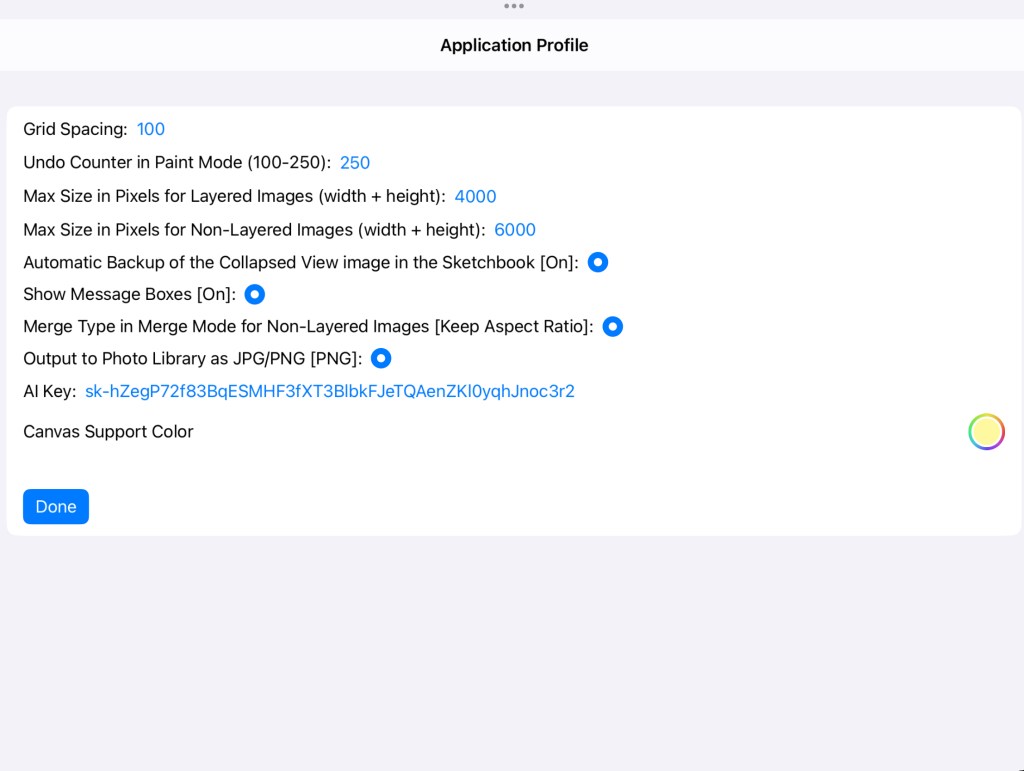
The Application Profile Screen
Press the Blue P in the upper right navigation bar to access this screen.
The Image Profile Screen
Press the Blue P in the upper right navigation bar to access this screen.
The Image Profile screen displays important details about the image.
Images can be named. This is useful when opening artwork from the Sketchbook screen.
Toggle the ‘In Gallery’ button to Yes if this image is to appear in Gallery Mode.

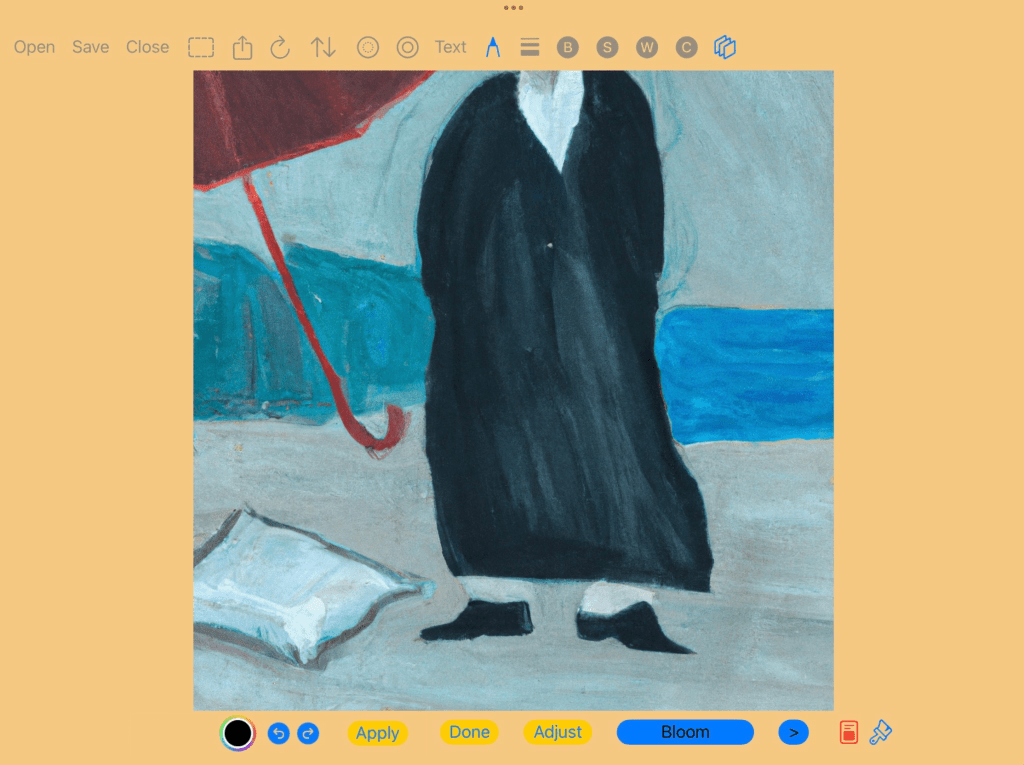
Apply Filters – press the ‘Filter’ button in the lower navigation bar
To exit Filter mode without changes, press the Undo button in the lower left navigation bar.
Apply Edits – press the ‘Edit’ button in the lower navigation bar.
To exit Edit mode without changes, press the Undo button in the lower left navigation bar.
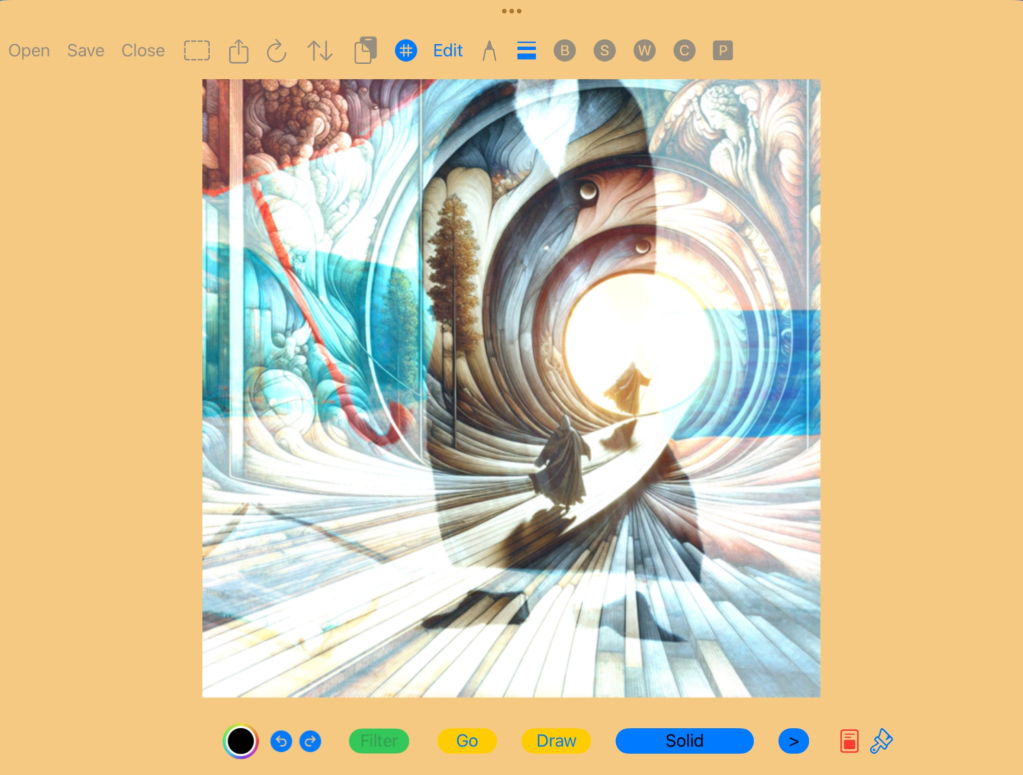
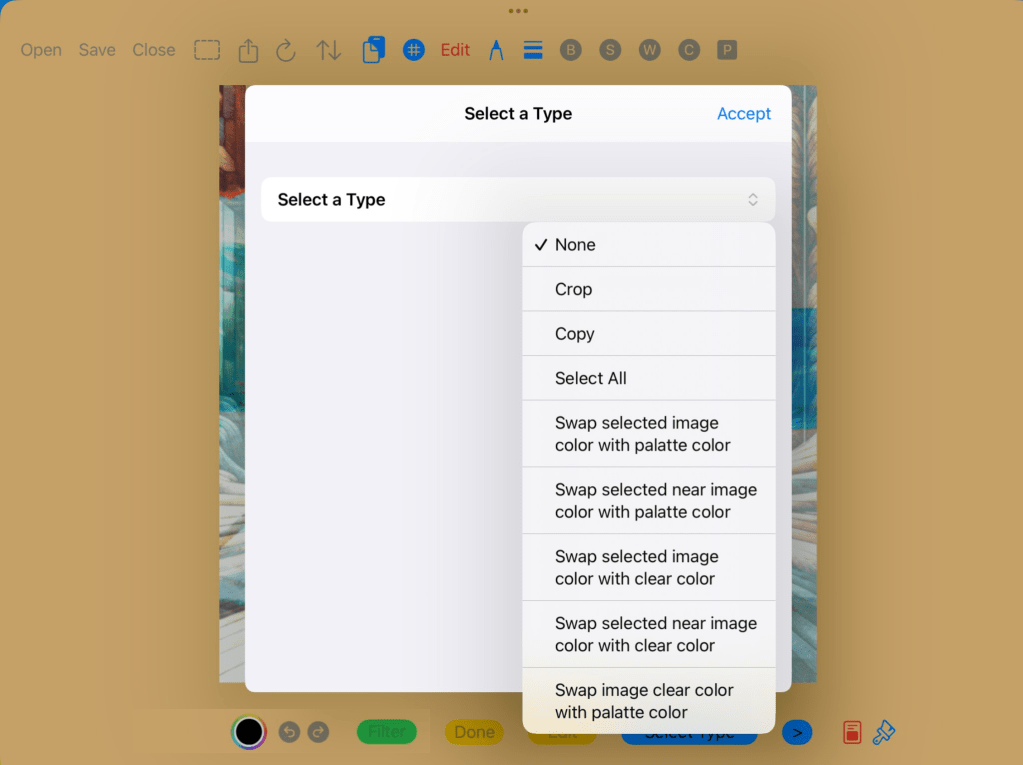
Edit option are: Draw, Shape, Image, Tile and Edit.
For Draw, Shape, Image and Tile modes: Repeatedly press the Draw button which will toggle between the four options. Press Go to enter whichever mode is last toggled.
For Edit mode: Edit mode will allow for Edit types as illustrated below. They can be accessed by first pressing the Edit button. Then press the pencil tip icon in the upper navigation bar to select a specific Edit type.
To paste something from the Clipboard, first press the Edit button, then press the double Clipboard icon. If the double Clipboard icon turns Red, touch the image screen to move the Clipboard paste image around the image for placement. After placed, press the Red Clipboard button to complete the paste.
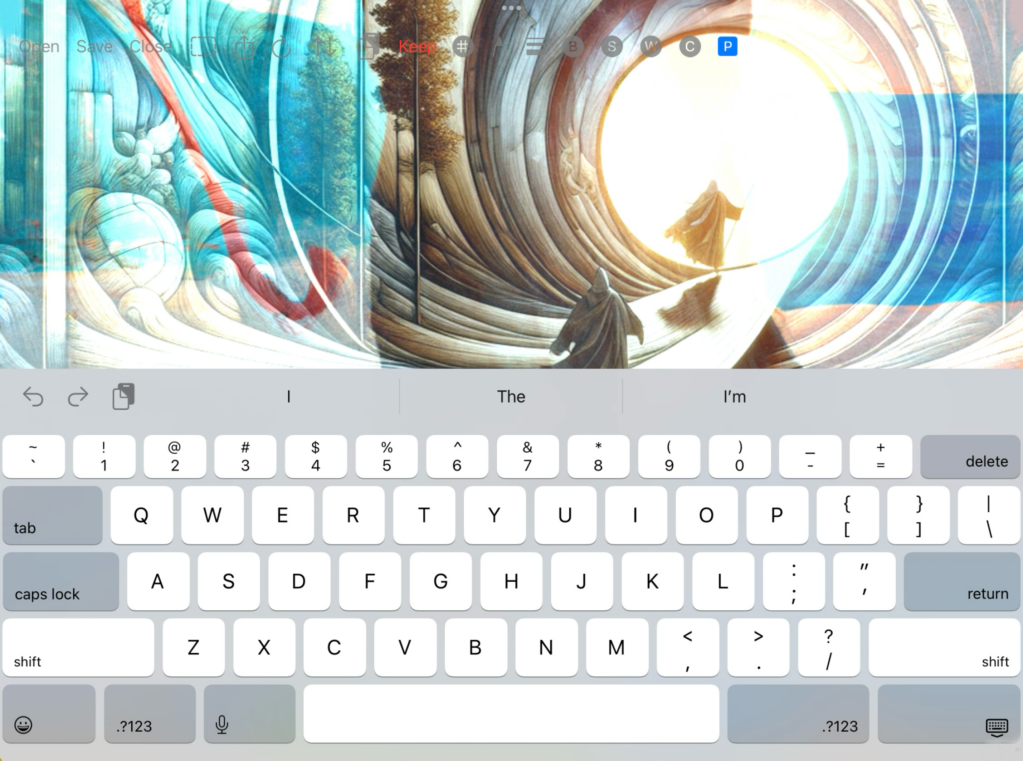
Apply Text – press the ‘Text’ button in the upper navigation bar.
The keyboard will automatically open when Text mode is activated. To exit Text mode and keep all changes, press Keep in the upper navigation bar. To exit Text mode without changes, press the Undo button in the lower left navigation bar.
Use two finger to pinch the image while in Text mode. Use three fingers to drag the image while in Text mode.
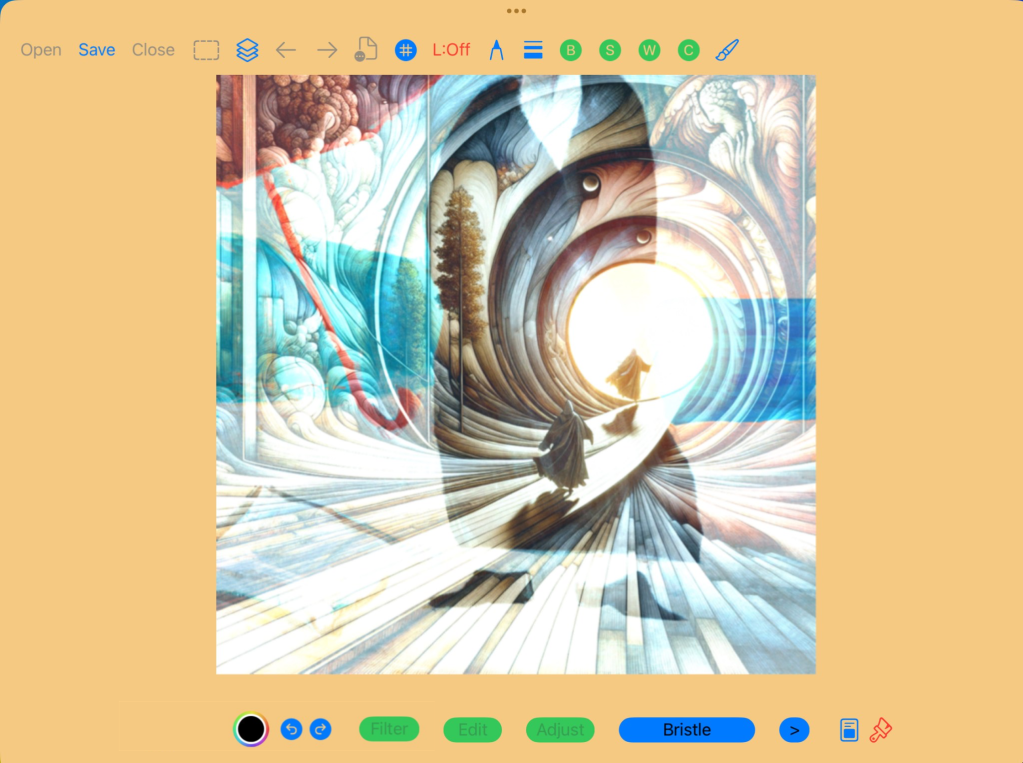
Apply Paint (Non-Layered) – press the Red Paintbrush button in the lower navigation bar.
To exit Paint mode press the document button in the lower left navigation bar.
Apply Paint (Layered) – press the Red Paintbrush button in the lower navigation bar.
To exit Paint mode press the document button in the lower left navigation bar.
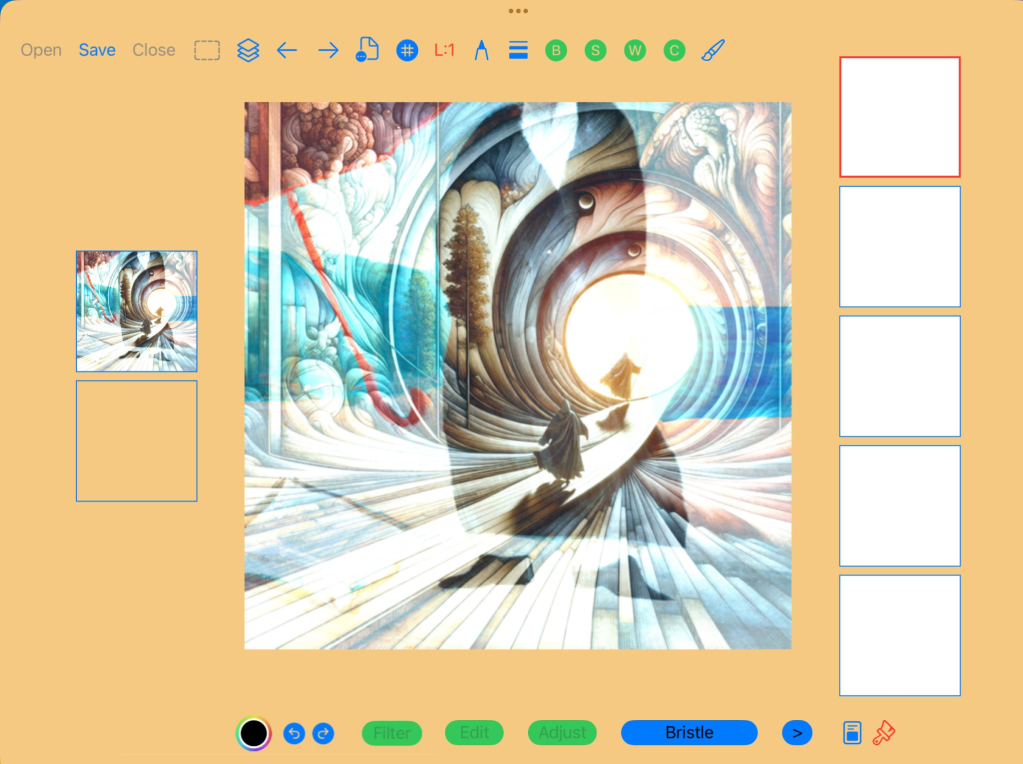
Paint mode navigation
Paint mode brushing
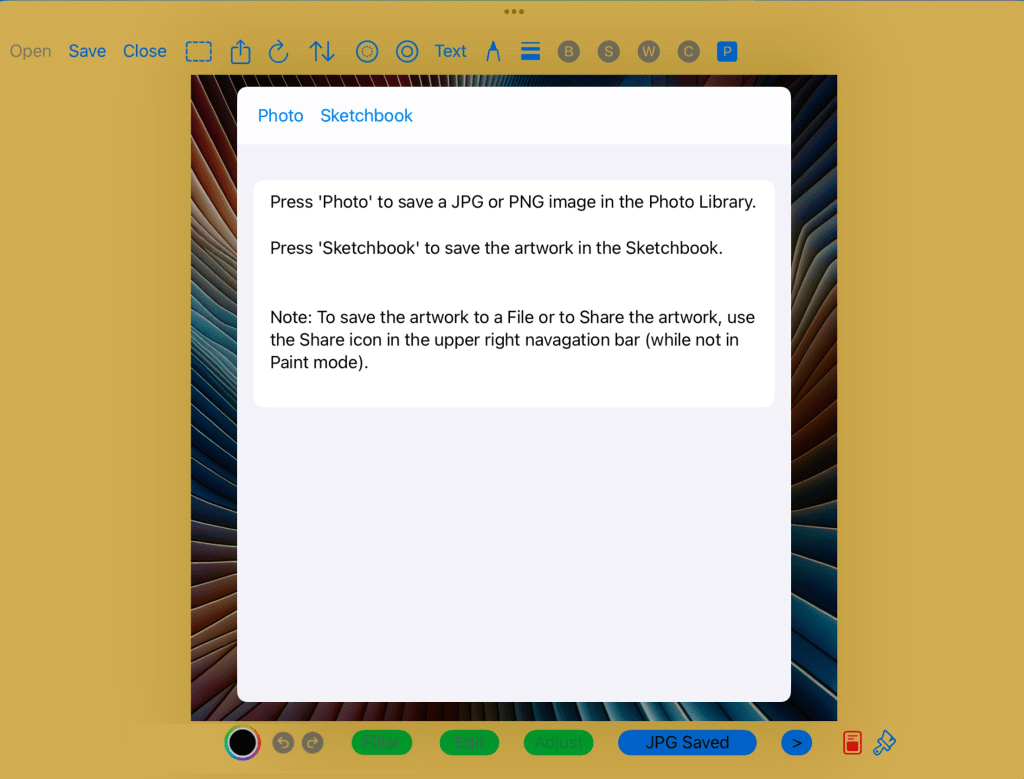
The Save Screen
Press the ‘Save’ button in the upper left navigation bar.
To save all layers created in Paint mode, be sure to save the artwork to the Sketchbook before closing.
When saving a Photo to the Photo Library, the ‘output to photo’ option in the Application Profile will determine whether a JPG or a PNG image is saved. The JPG option is typically lower resolution and will result in a smaller file size.
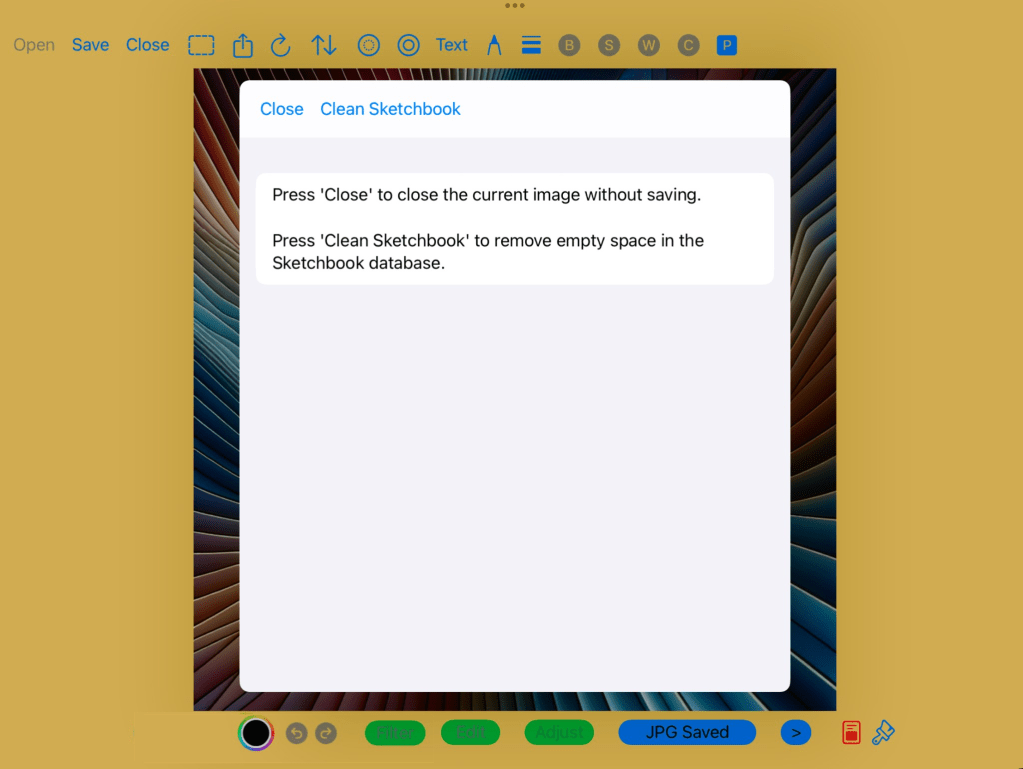
The Close Screen
Press the ‘Close’ button in the upper left navigation bar.
The Clean Sketchbook option will help improve database speed by reducing excess space in the Sketchbook. This will also benefit by reducing the App footprint size on the iPad.